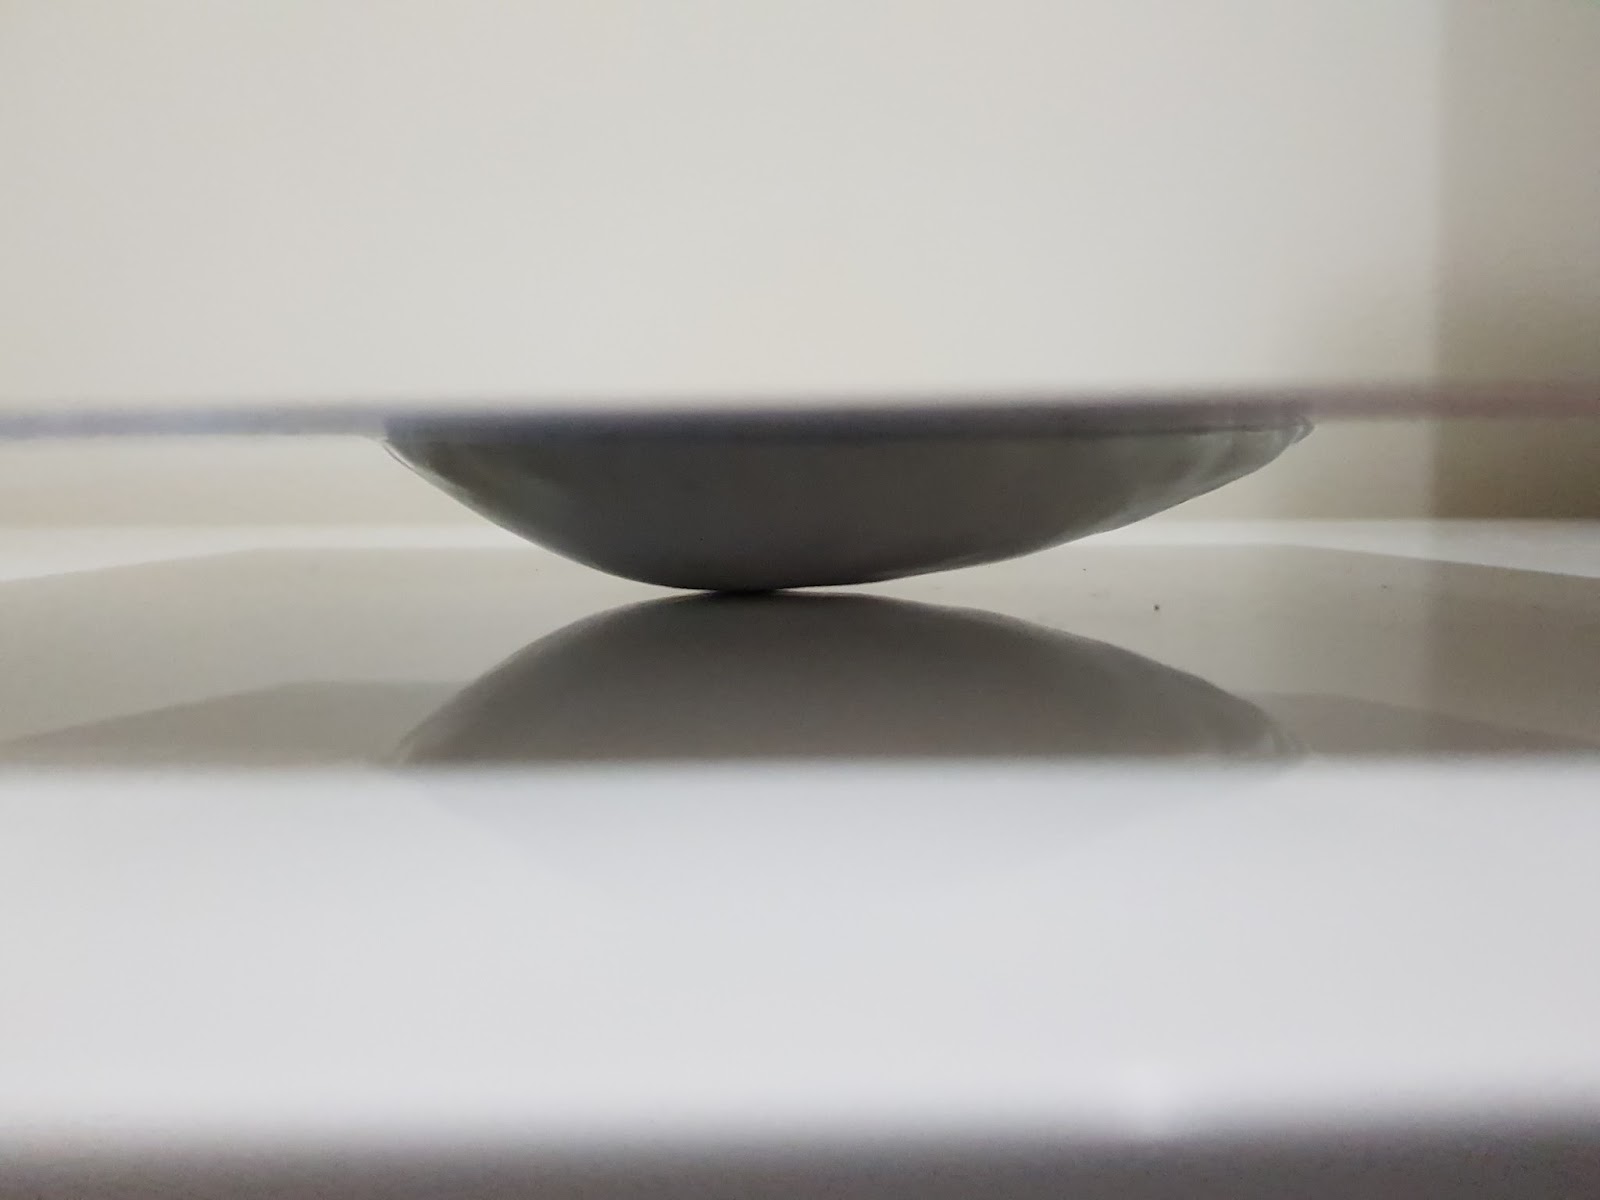
The Blister
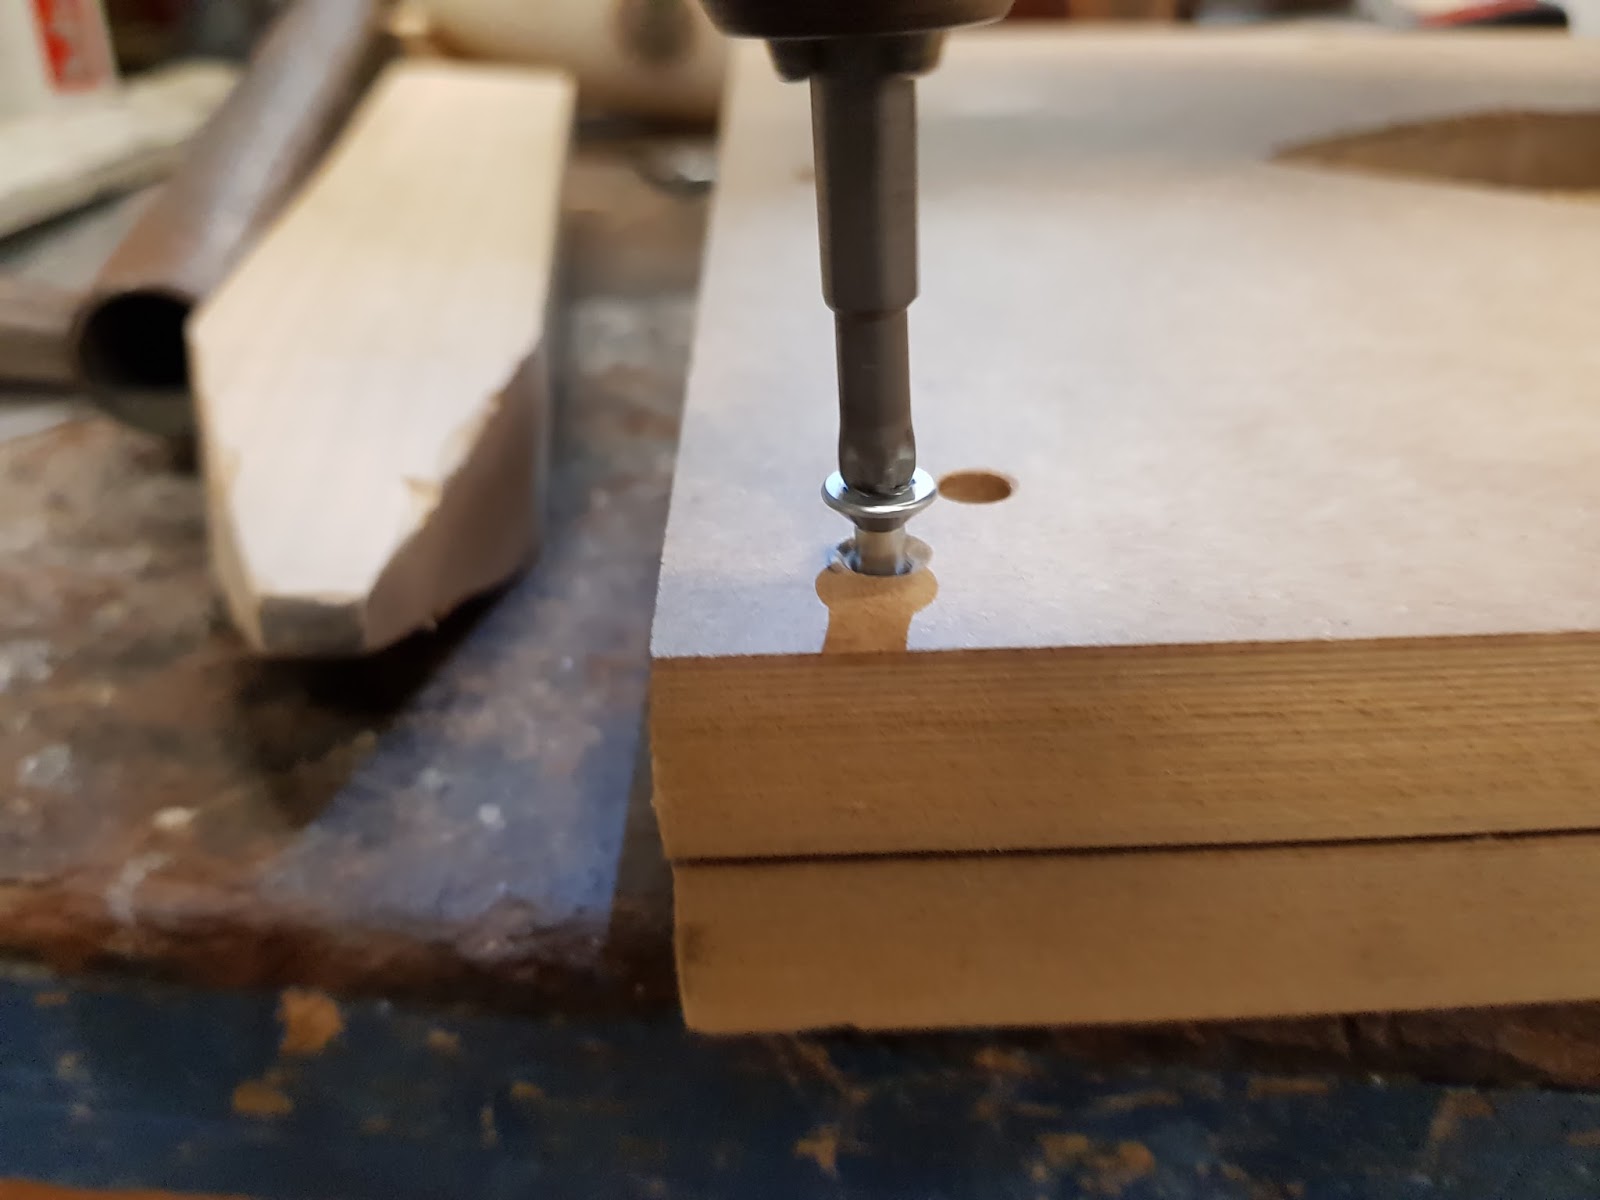
The Blister was the fourth and final task for this project however it was the easiest for me. I shared a template with a peer. The template was cut using a CNC machine and the first thing we did was drilling holes on the edges so that we are able to screw the two pieces together. We decided to cut our aluminium smaller so that we don't have to drill through them. The aluminium is then slid in between the template and the templates was screwed together and then clamped to a table. I then proceed on hammering the aluminium to shape. The process was quite straightforward compared to the previous task however I encounter a small issue in that i found it difficult to define the edges and the tip of the blister using the mallet. However i manage to solve this by making and using a corking tool from a piece of timber I found on the workshop. To make the corking tool, i measured out the curve of the tip of the blister into the timber piece then cut the piece to shape using a band saw and a disc sander. After the shape was finished, i took it off the template and cut the edges of the aluminium piece using the guillotine to make sure that the blister is dead centre. This task was relatively easy took the quickest.


Comments
Post a Comment