The Fuel Tank - Phase 2: The Rhino File
Phase 2: Preparing the Laser Cut File
We thought that preparing the file for laser cutting is gonna be a breeze, we thought wrong. The file provided by the course blog is a Rhinoceros 3D file, not a single person in our group is familiar with the software with the exception of Taquir, however we still couldn't figure out how to prepare it for laser cutting.
As Industrial Design students, we know how to prepare a file for laser cutting; export as STL file and import it into a slicer which slices the file into different parts. However we couldn't export the Rhino file at all.
With the help of Martin, we figured out that the issue is that the file is missing important data that made the model undefined. 
Everyone being confused (even people from other groups)
As the other groups who chose the same fuel tank experienced the same problem, Russel decided to help. With some magic Russel managed to fix the file using Grasshopper (Rhino Plugin) and then exported into 3DS Max (CAD software) as during the time the file is just a surface file (not a solid object). Russel made it into a 3D solid object in 3DS Max which we then can export as STL and import into the slicer.


Russel helping with the files

The 3DS Max file

The slicer file sliced ready to laser cut


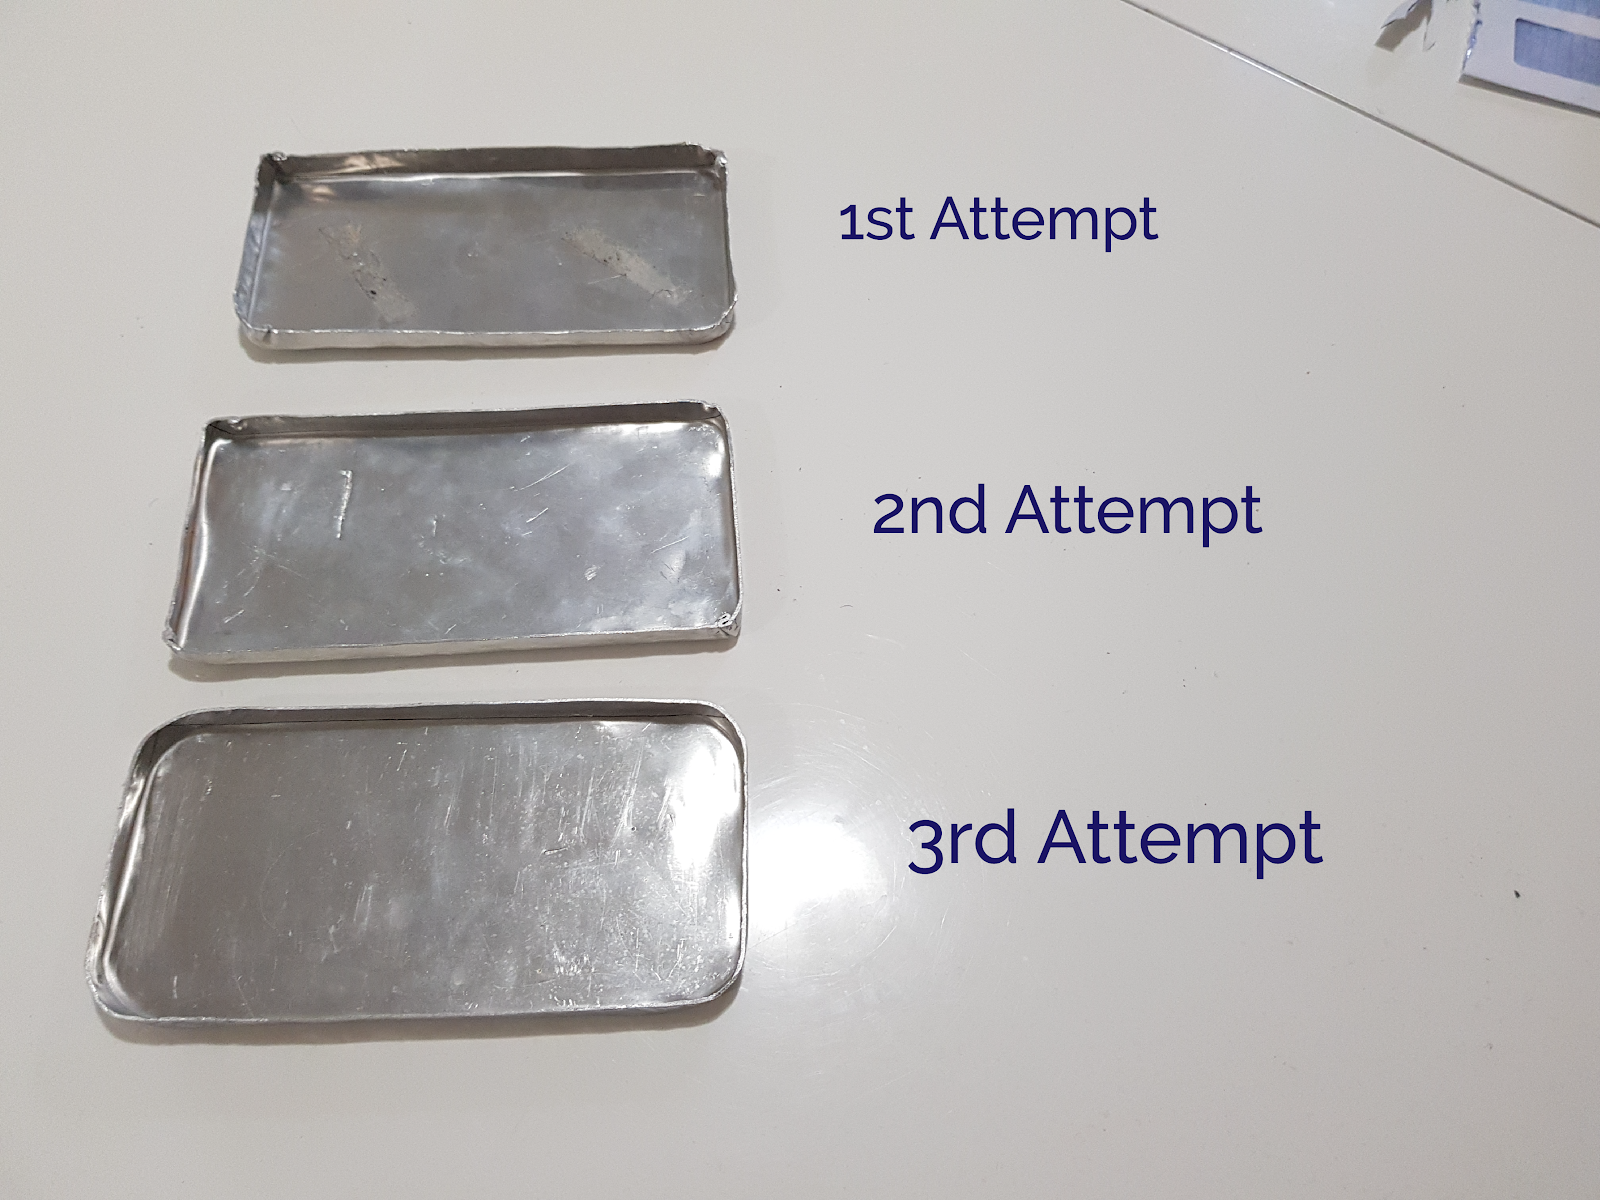
Before we laser cut however Martin suggested to test the gap thickness (where the parts joint together), as the material thickness is 3mm, we thought making the gap 3 mm would make it loose so we decided to do a test to determine the gap thickness with the best fit. We laser cut pieces with gap of 2.5 mm up to 3 mm.
We found that 2.6 mm gap has the best fit, as 2.5 mm was to tight and 2.7 was a bit loose
We then proceed to laser cut the fuel tank template


Comments
Post a Comment